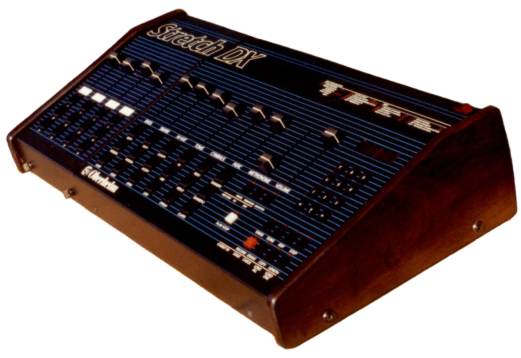
The Stretch is an expansion unit for the Oberheim DX digital drum machine that adds four new voices.
Installing a Stretch is fairly simple, but requires some amount of skill with a soldering iron and knowledge of basic electronic assembly techniques. If you do not feel confident in these areas, please visit your local electronic repair shop for assistance.
The mechanical connections are simple. The left side panel on the DX is removed and reattached on the left side of the Stretch and the two metal cases are attached together with screws.
There are three types of electronic connections that need to be made between the Stretch and the DX:
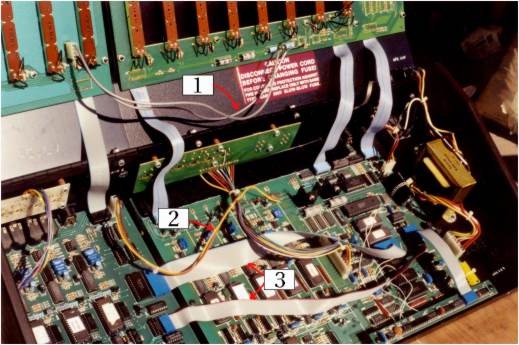
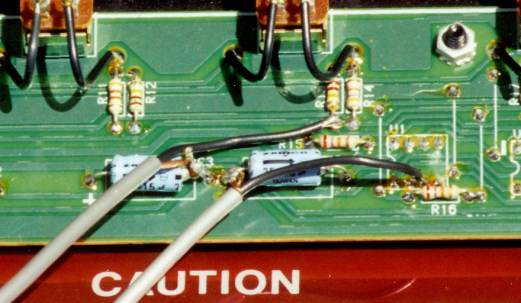
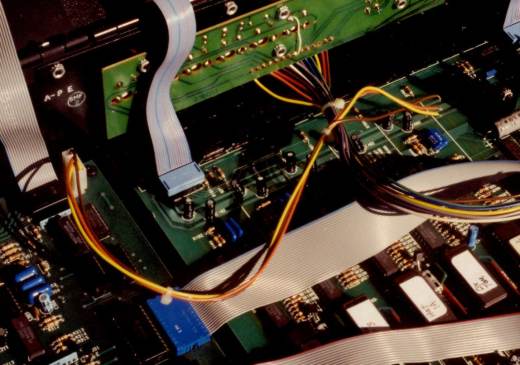
The audio cables allow mixing the sound from the stretch into the main DX output. A connector on the Stretch has two shielded
cables that should reach to the indicated area on the DX front panel. The cables should be soldered as shown below. The two
cables may be interchanged to switch the voice panning from left to right.
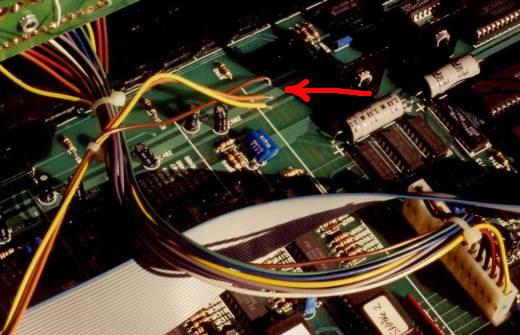
Three color-coded wires lead from a connector on the Stretch to the main board of the DX.
These carry the voltage to power the DX. Solder the ends of these wires as shown.
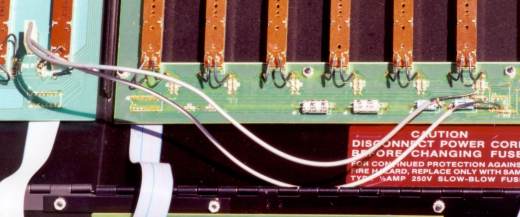
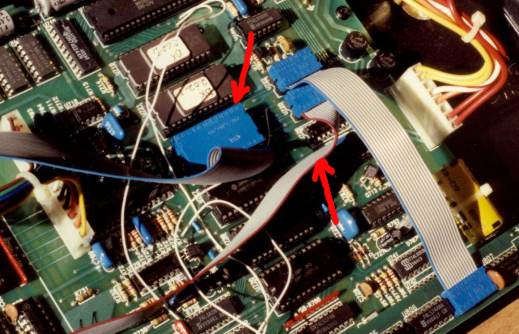
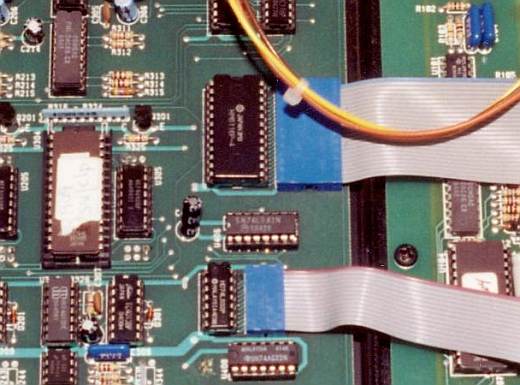
The two ribbon cables carry control signals to the Stretch. The cables plug into IC sockets on the DX main board.
Remove the integrated circuits (ICs) that are in the sockets where the cables will plug in. Take these ICs
and plug them into the
empty sockets on the Stretch circuit board right next to their corresponding cables.
In some of these photos, you may see other wires and ribbon cables. These are not related to the Stretch, but are a modification to the DX sync circuitry.
Thanks to G-Man for the photos!